Welcome to
Syncore, in 9 steps.
Syncore lives inside your AI agents — preparing context before the call, transcribing and searching live, then saving shared memory after. This guide walks you from install to your first recorded meeting, end to end.
Set up your account
Create your Syncore account and install the CLI. Two minutes.
Click “Start free” to begin
Head to syncorelabs.ai and click Start free. This kicks off the account creation flow — no credit card needed.

Register and log in
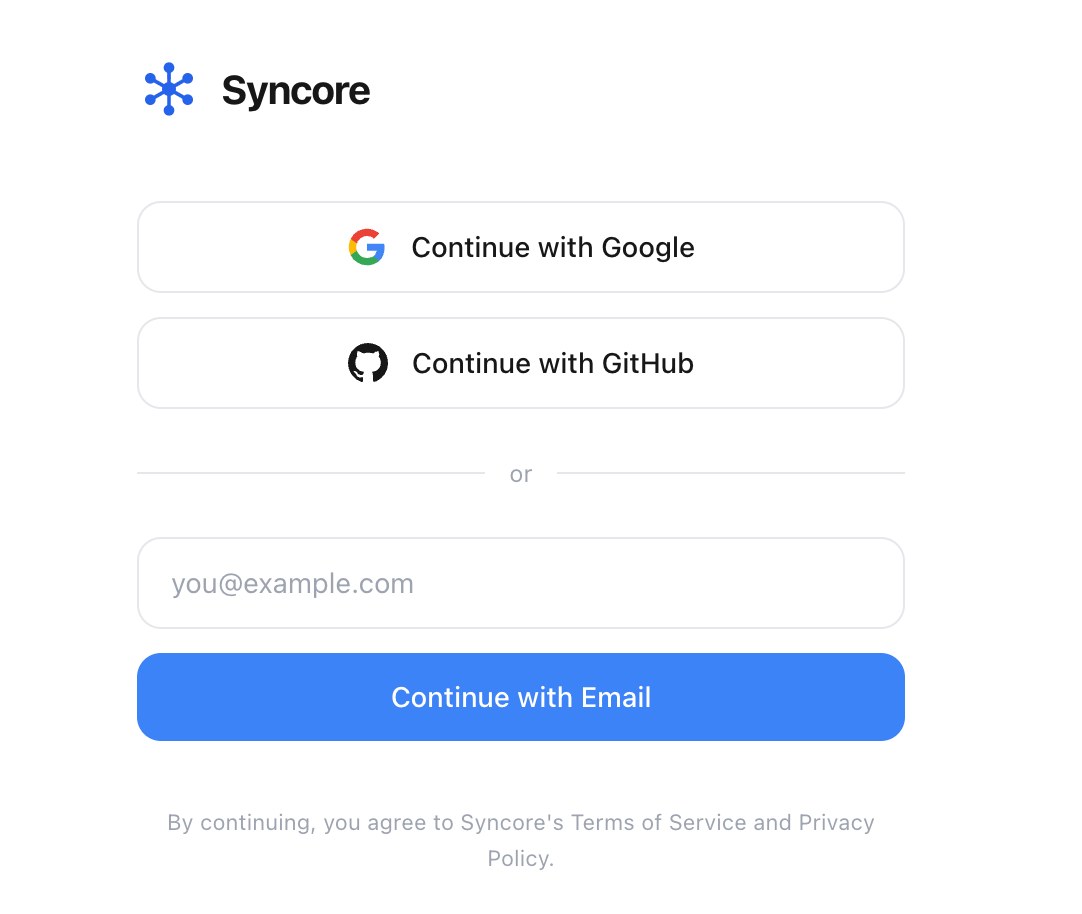
Pick your preferred method — Google, GitHub, or email. We recommend Continue with Google: Syncore can sync with your G-Suite (calendar, drive) and prep context before your meetings even start.
Install Syncore in your terminal
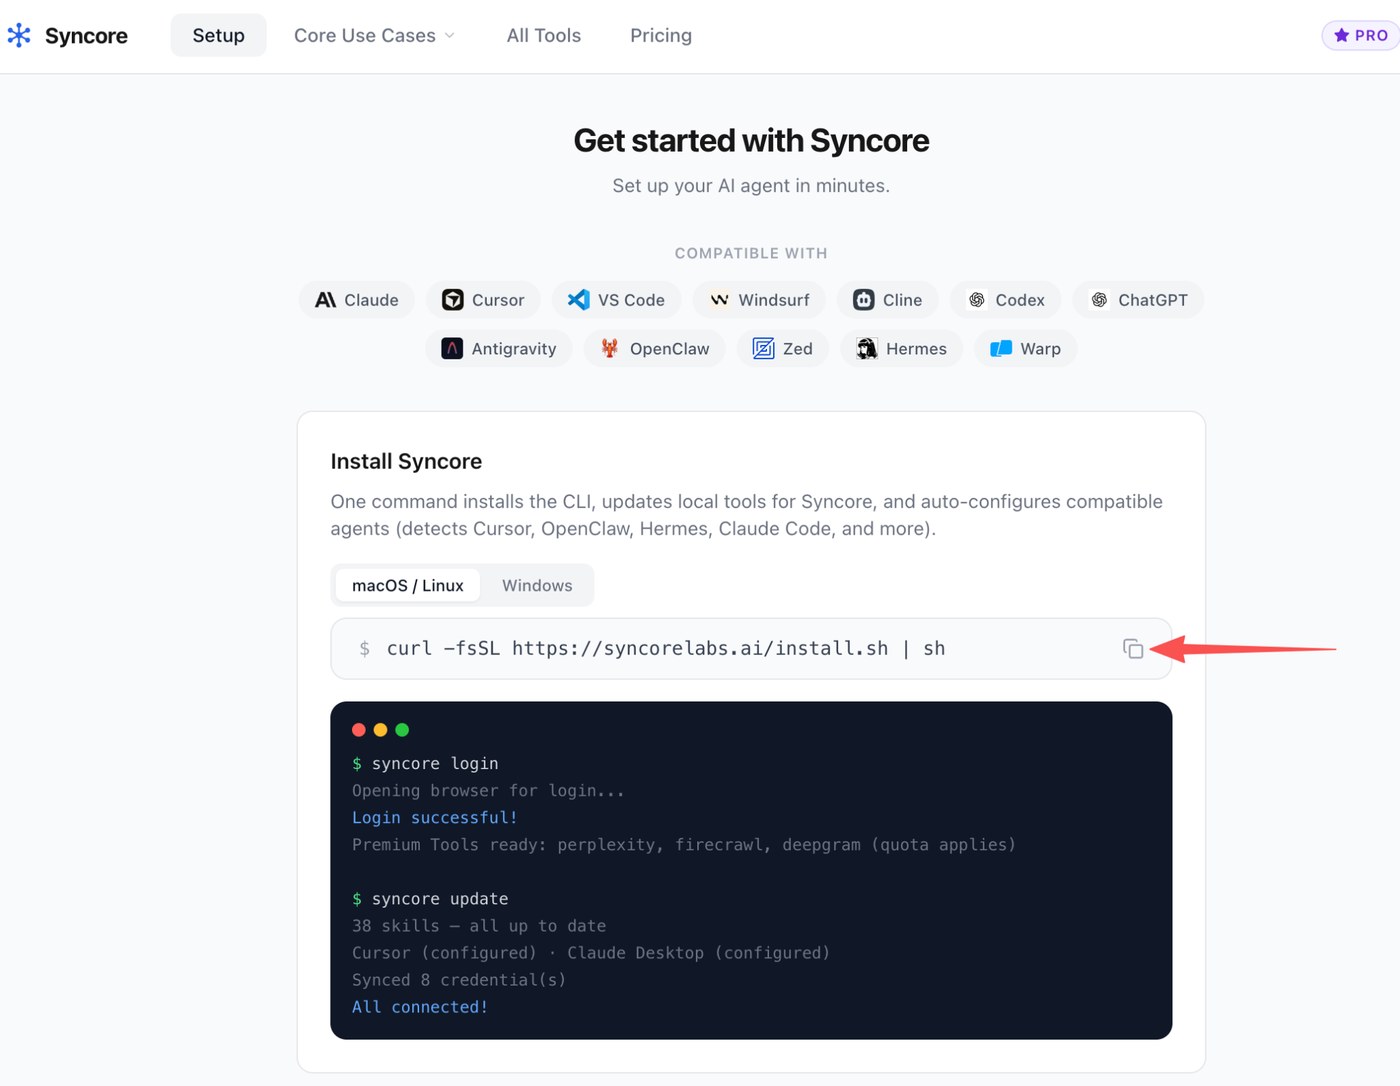
Copy the install command from the dashboard and paste it into your terminal (open Terminal on macOS, or any shell on Linux/Windows). One command installs the CLI, updates local tools, and auto-configures compatible agents — Cursor, Claude Desktop, OpenClaw, Hermes, Claude Code, Codex, and more.
Activate your account
After the installer finishes, run syncore login in your terminal. Your browser will open, you'll authenticate in ~30 seconds, and you're connected.
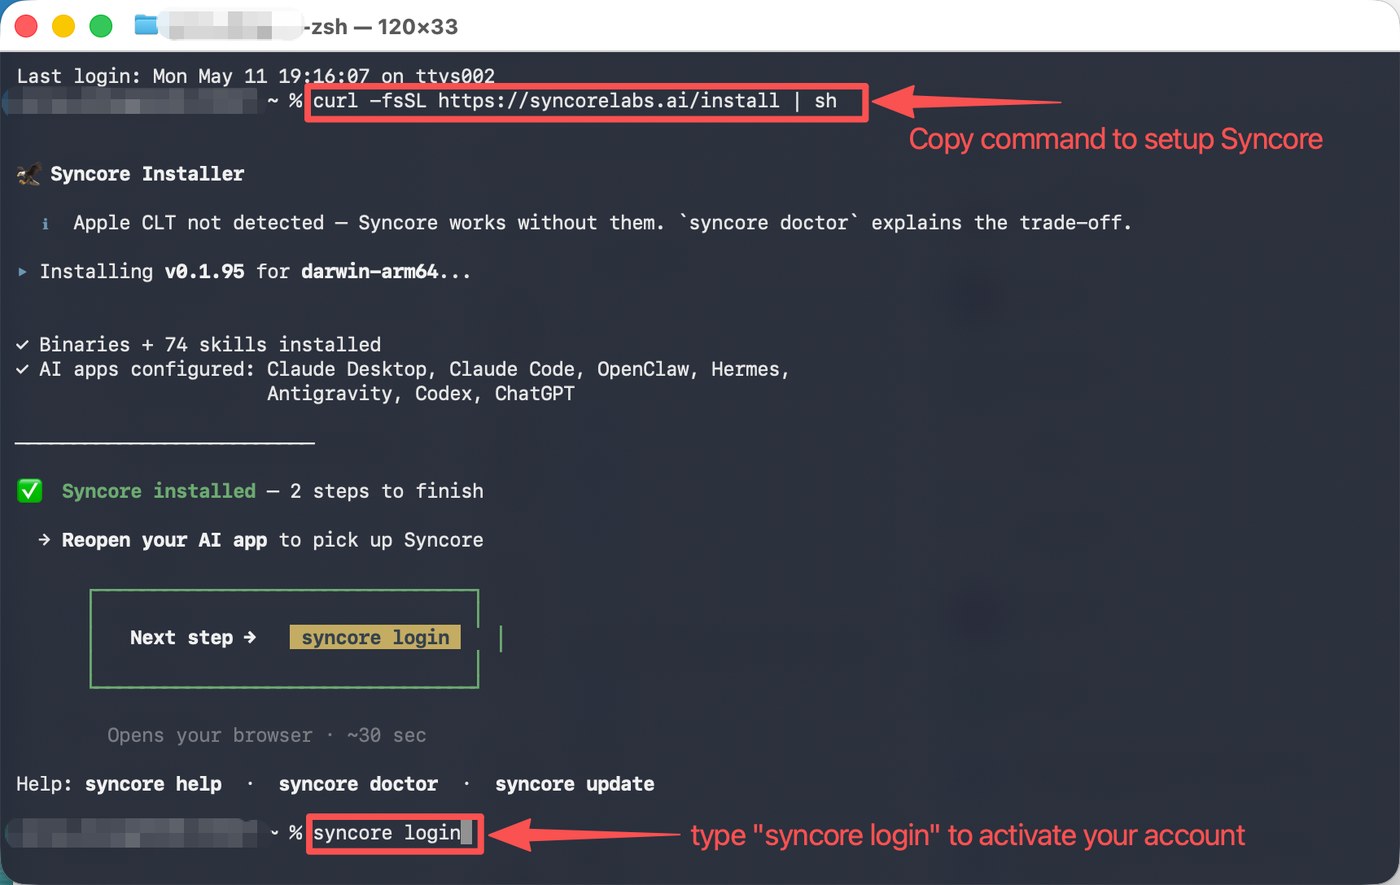
The installer detects which AI apps you have and configures them automatically. If something looks off, run syncore doctor for a diagnostic.
Grant permissions
One macOS permission so Syncore can listen during your meetings.
Enable audio recording
Your system will prompt you to allow Screen & System Audio Recording for Syncore-Assist. Toggle it on — this is what lets Syncore capture both mic and system audio during your calls.
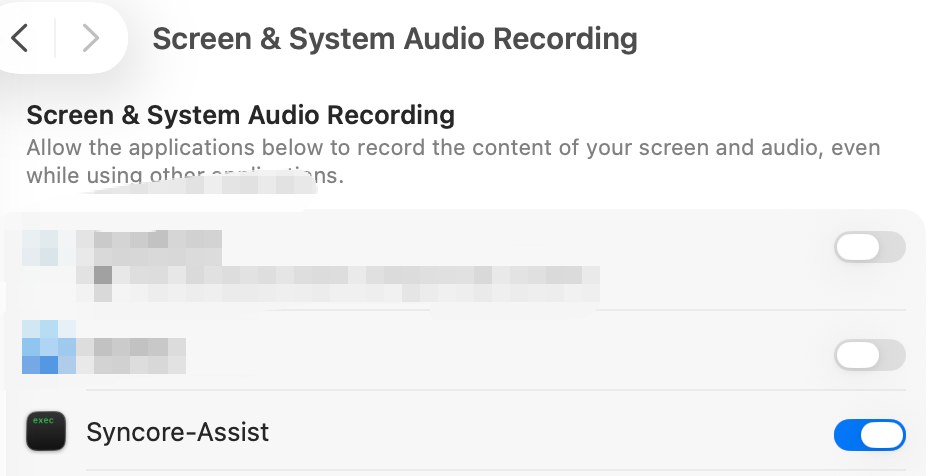
Audio stays local. Syncore transcribes on-device and only writes summaries to your own wiki — nothing is sent to a third-party meeting service.
Run your first meeting
You're set up. Here's how a meeting actually flows.
Restart your agent & start the meeting
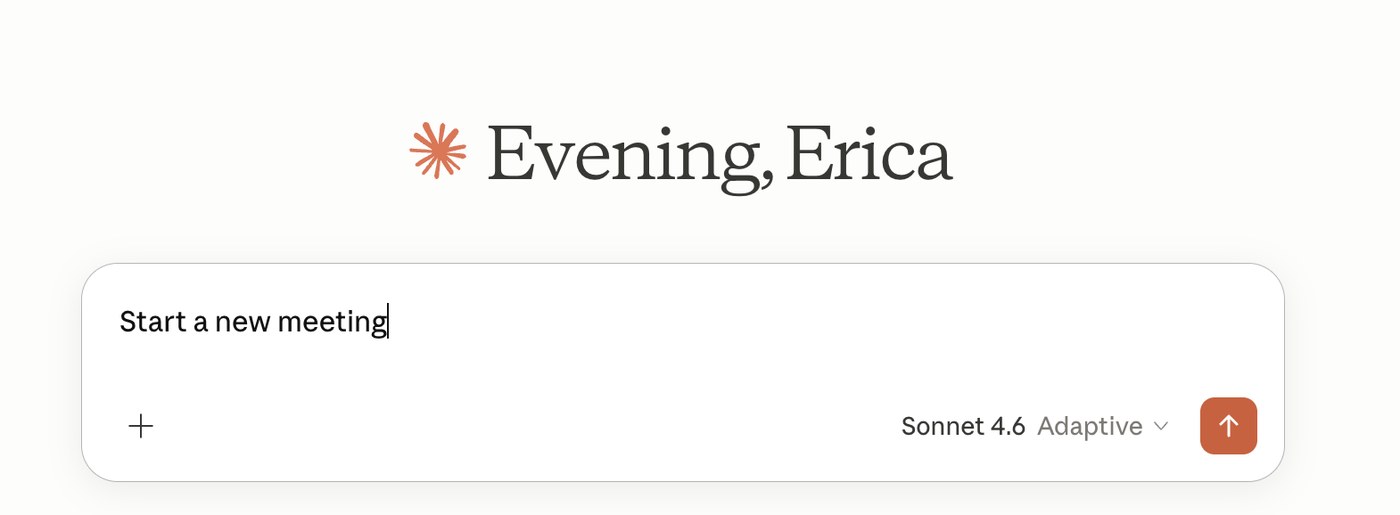
Quit and reopen your AI agent (Claude, Cursor, ChatGPT — whichever you use) so it picks up the new Syncore tools. Then just tell it you want to start a meeting — no buttons, no separate app.
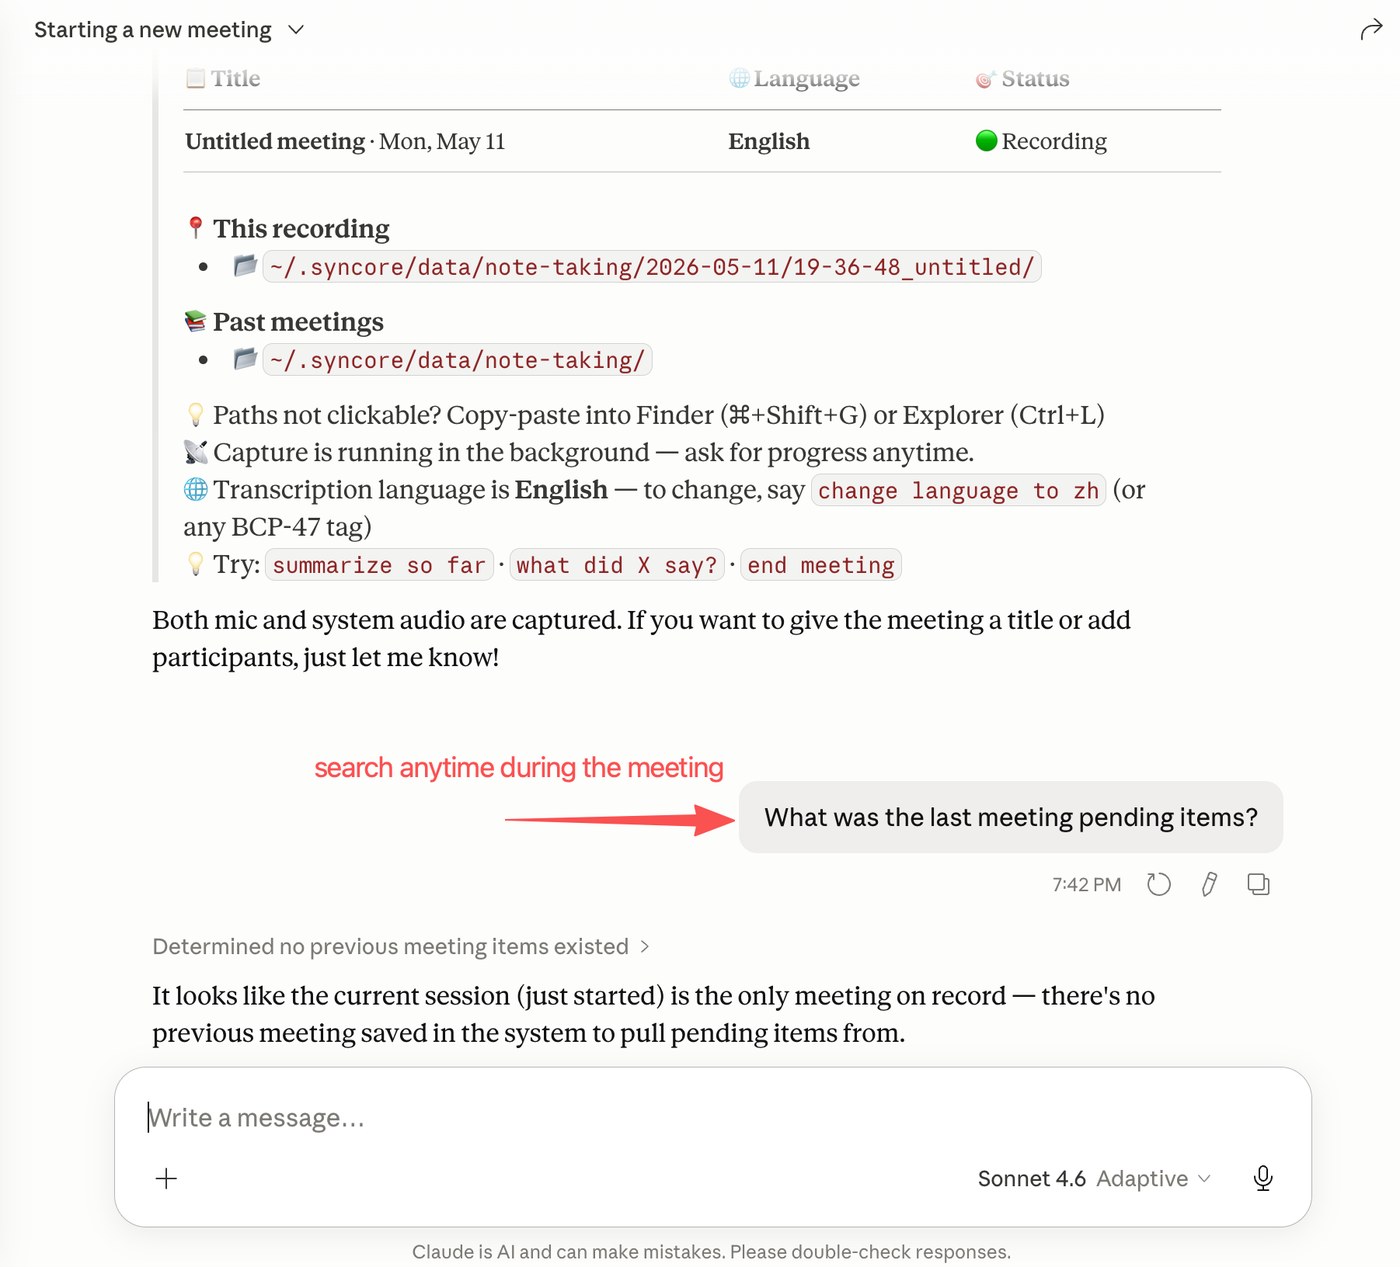
Search your wiki in real time
While the meeting runs, ask your agent anything — “what did we decide last time?”, “summarize so far”, “what was the last meeting's pending items?”. Syncore searches across past sessions and pulls relevant context live.
End the meeting whenever
Click Stop recording in the menu-bar widget, or just tell your agent to end the meeting. Syncore will finalize the transcript and generate a summary.
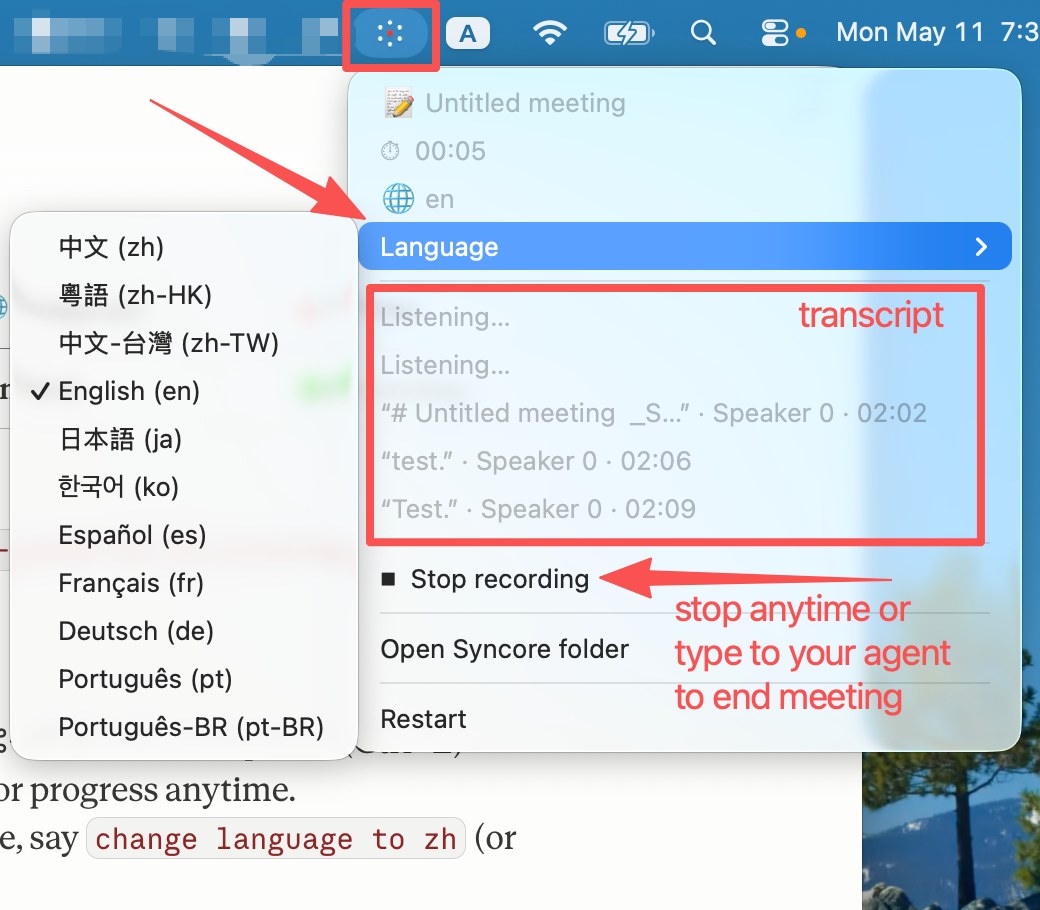
Switch transcription language on the fly — Chinese, Japanese, Korean, Spanish, French, German, Portuguese, and more. Say “change language to zh” or pick from the menu.
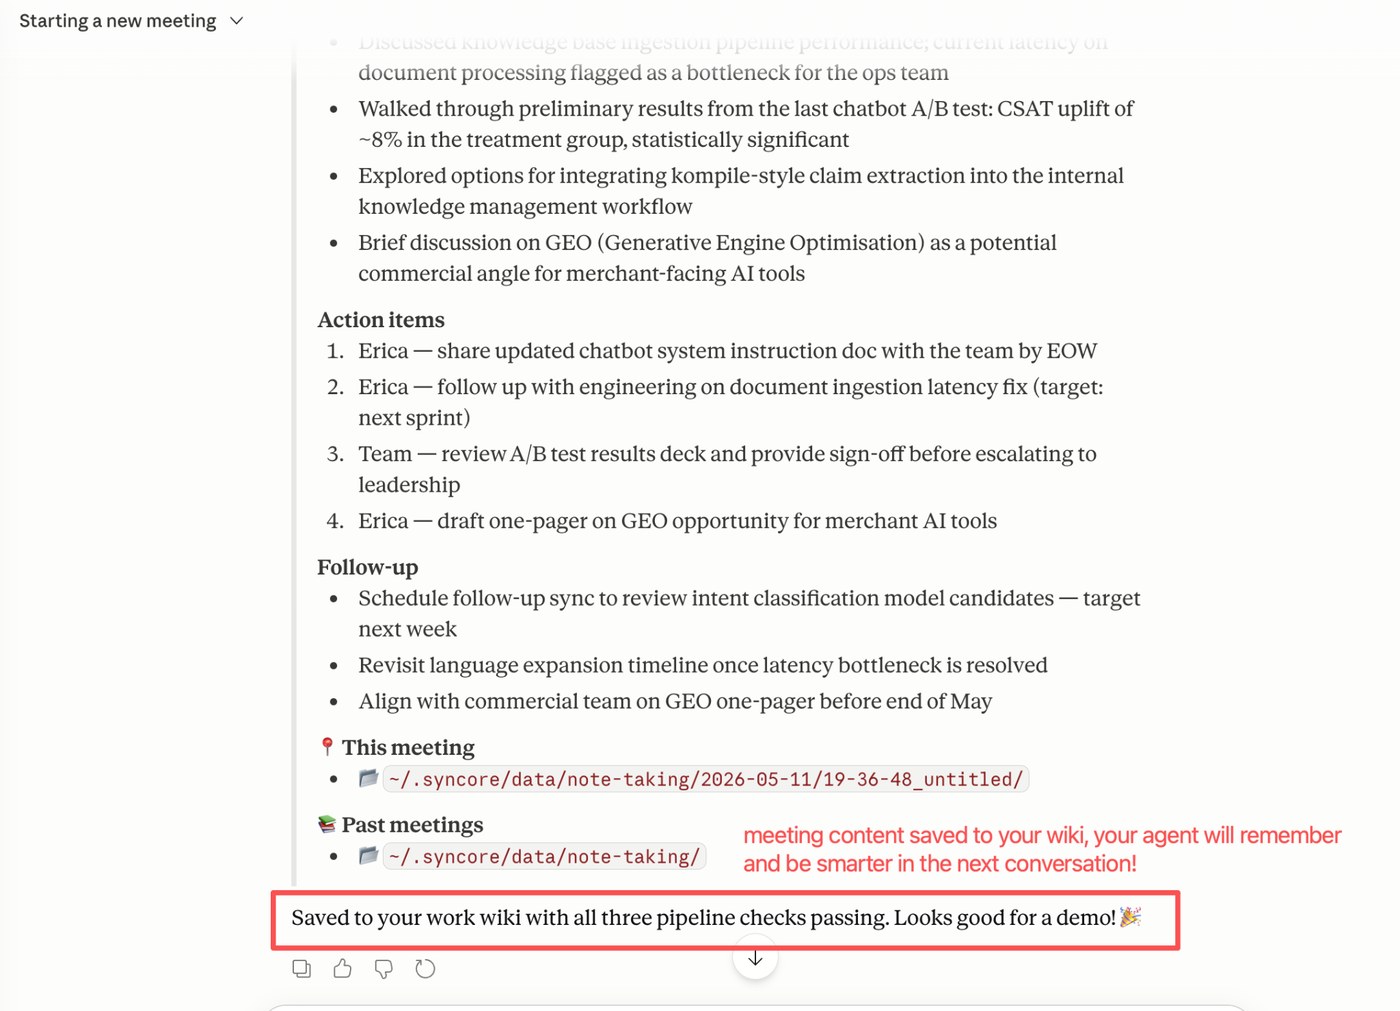
Your summary saves itself
Action items, follow-ups, and decisions are auto-extracted and written straight to your wiki. Every meeting makes your agent a little smarter — context compounds across sessions instead of starting from zero.
You're set up. Run another meeting tomorrow — your agent will already know what you discussed today.